Leaky basements are a big concern for homeowners because water damage can ruin things and even cause health issues. It can also mess up the structure of the house. To stop leaks and avoid having to fix things again and again, it’s smart to waterproof basement walls. One common way to do this is by putting on a special coating that stops water from getting through. This article will go through the steps you need to follow to learn how to waterproof a basement properly and achieve satisfaction.
Make Sure to Clean First
First, grab a five-gallon bucket and fill it halfway with warm water. Then, get a long-handled scrub brush and clean all the dust and dirt off your walls. Pour out the dirty water and refill the bucket halfway with clean, warm water. Add 3/4 cup of liquid dish soap (like Dawn) and scrub the walls again. If you spot mold, mix in a cup of oxygen bleach. Oxygen bleach is better for killing mold because it’s safer and won’t ruin your clothes. After scrubbing, rinse the walls with warm water and let them dry overnight.
Ensure the Area is Completely Dry
Before you start waterproofing, make sure there’s no water left standing around. Once it’s all dry, check for any damage and figure out what needs fixing. If there’s water left, it might be coming from the floor, not the walls, which needs a different fix.
Plug Any Holes
Check your walls for any holes or big dents. If your basement has a poured-concrete foundation, keep an eye out for dents around where the metal wall ties are. These ties help keep the concrete in place when it’s poured. If you see any metal sticking out, use a cold chisel and hammer to fix it. For concrete-block walls, look for missing mortar between the blocks or broken corners with holes. Check every spot where a pipe or duct goes through the wall for gaps that water could get through.
To fix these holes, use hydraulic cement. Mix it with water following the instructions on the label, usually three parts cement to one part water. Then, press it into the holes or gaps. Hydraulic cement dries fast and stops water and gas from getting through. Plus, it’s handy for other repairs too, like securing metal brackets or posts to concrete.
Seal Any Cracks
To stop water from getting through cracks in concrete, you have options. If the cracks are wide, try hydraulic cement. But for smaller cracks, like ones less than 1/8 inch wide, an epoxy injection system works best. This system uses strong epoxy in caulking tubes, mixing nozzles, and injection ports glued over the crack. The number of ports depends on how long the crack is.
Spread epoxy sealer over the crack and ports with a putty knife, then let it dry. Use a caulking gun to fill each port with epoxy, making sure it goes deep into the crack. Put end caps on the ports and let the epoxy dry for a few days. Finally, trim off the excess ports with a hacksaw.
Caulk the Windows, Doors, and Window Wells
When you’re waterproofing, it’s smart to check all around your house. Water can sneak in through window wells, so sealing them up well is key. Silicone caulk or expanding foam works great for this. Don’t forget to seal up windows and doors with caulking to keep water out.
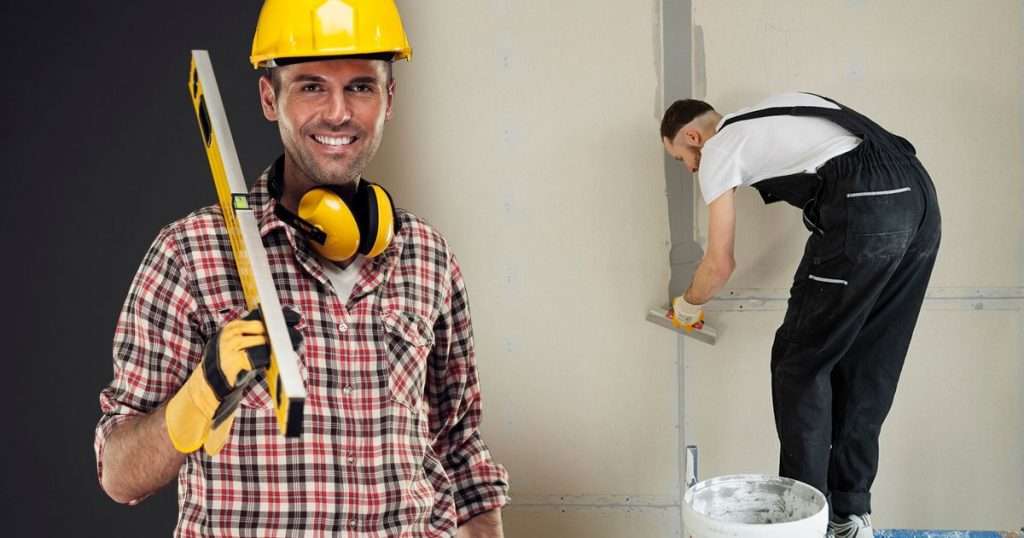
Wear Proper Protective Gear
Make sure you stay safe when you’re doing physical work:
- Get geared up: Wear goggles, gloves, and a mask to protect yourself.
- Keep fresh air flowing: Open windows and use fans to keep the air moving.
- Stay powered down: Turn off the basement power to avoid any electrical accidents.
- Read up: Follow the instructions on the products you’re using carefully.
- Be prepared: Have a first aid kit handy in case of any emergencies.
Start the Waterproof Coating Process
With your foundation walls clean and all holes filled, it’s time to put on a waterproof coating. There are lots of choices for waterproofing products, but don’t risk using a cheap one after all your hard work. Look for the best quality you can afford, as price often reflects quality. If your basement gets really wet, go for an industrial-grade product for better protection.
Here’s what you need to do:
- First, make sure you buy enough paint for your basement walls. Each gallon can cover around 75 to 100 square feet, and you’ll need at least two coats.
- Next, check that the temperature is at least 50 degrees Fahrenheit when you start painting.
- Before you begin, give the paint a good stir, but don’t thin it out.
- Apply the first coat using a roller with a ¾-inch nap or a nylon bristle brush.
- Wait for two to three hours for the first coat to dry before putting on the second coat.
- Once the walls are dry, check for any tiny holes and give those spots an extra coat of paint.
Waterproof Your Basement Walls from the Inside with our Expert Tips
To safeguard your home from water damage and ensure your basement stays dry, follow our simple steps above and learn how to effectively waterproof your basement walls. Taking these measures and utilizing the right products and equipment will protect your home and keep your basement safe and dry for years to come.