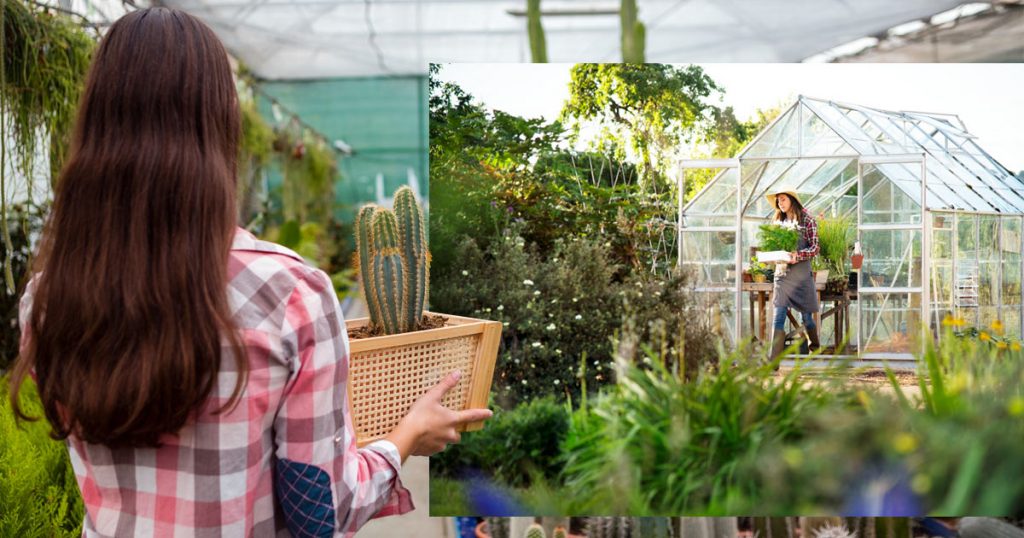
A greenhouse lets you grow plants year-round while protecting them from harsh weather. Many gardeners assume it’s expensive to own one, but that’s not always true. With the right planning and materials, you can make your own greenhouse cheaply without sacrificing quality or functionality. Whether you want to start seedlings early or grow vegetables all year, a low-cost DIY greenhouse is possible.
Step 1: Choose the Right Type of Greenhouse
Before you start, pick a design that fits your space, climate, and budget. The most affordable types include hoop houses, cold frames, and recycled window greenhouses. Hoop houses use PVC pipes and plastic sheeting, making them easy to assemble and maintain. Cold frames are perfect for small gardens or overwintering plants, while recycled window greenhouses add charm and sustainability.
Hoop houses often cost between $100 and $300, depending on size and materials. Cold frames can range from $50 to $200, while recycled window setups usually cost $150 to $500. Wood frame greenhouses are a bit pricier but offer durability if you use reclaimed wood. Starting with a simple design keeps costs low and helps you learn the basics of greenhouse care.
Step 2: Gather Budget-Friendly Materials
Building a cheap greenhouse starts with using affordable or recycled materials. PVC pipes make strong yet lightweight frames that are easy to cut and connect. Reclaimed wood is another excellent choice if you can find it for free or at a low cost. For the covering, 6-mil plastic sheeting is the most economical option, though it needs replacement every few years.
Polycarbonate panels last longer and provide better insulation, but they cost more upfront. Repurposed glass windows from old homes or salvage stores can also work well. To find materials, check local listings, community boards, or reuse centers like Habitat for Humanity Restore. These places often have leftover wood, windows, or hardware at a fraction of retail prices.
Step 3: Pick the Best Location
Location determines how effective your greenhouse will be. Choose a sunny area that gets at least six hours of direct sunlight daily. Avoid low-lying spots where water collects after rain. Poor drainage can cause mold or root rot. Position the greenhouse where it gets some wind protection from a fence or building, but not full shade.
Having easy access to water and electricity also makes daily upkeep simpler. A well-placed greenhouse ensures steady plant growth and reduces the need for artificial lighting or extra heating.
Step 4: Build a Strong Frame
Once the location is ready, focus on the structure. PVC frames are easy to install and are the top choice for beginners. For extra durability, wooden frames made from reclaimed wood can handle heavy winds better. Metal pipes or rebar are another option if you want something long-lasting.
Reinforce the frame with cross-bracing to prevent bending or warping. Secure all joints tightly using screws or connectors instead of tape or zip ties. If using wood, apply a weatherproof sealant to protect it from moisture and insects. Strengthening the frame early saves you from costly repairs later.
Step 5: Cover, Ventilate, and Insulate
A proper covering keeps the greenhouse warm and controls moisture. Attach plastic sheeting with clamps so you can adjust it easily. Seal edges carefully to prevent drafts and heat loss. If you’re using panels or windows, make sure they fit snugly to block cold air.
Ventilation keeps the greenhouse from overheating. Install small mesh-covered vents or roll-up side flaps for airflow. A simple solar-powered fan can help circulate air during hot days. To keep the greenhouse warm in cooler months, use bubble wrap as insulation or place black-painted water barrels inside to store and release heat.
Compost piles near the greenhouse can add natural warmth. For plant beds, mulch with straw or leaves to trap heat in the soil. These small adjustments make a big difference in temperature control without raising energy costs.
Step 6: Anchor and Protect the Structure
A lightweight greenhouse can shift or collapse during strong winds if not anchored properly. Secure the base by burying a few inches of the cover in the soil or weighing down the frame with sandbags, bricks, or concrete blocks. You can also tie ropes or cables from the frame to ground stakes for extra stability.
For areas with snowfall, build a sloped or arched roof so snow slides off easily. If heavy snow is common, add extra support beams to prevent sagging. A little extra reinforcement ensures your greenhouse lasts through harsh weather.
Step 7: Expand and Customize Over Time
You don’t have to build a large greenhouse right away. Start small and expand as your garden grows. Modular setups with extendable PVC or wooden panels allow you to add sections later. Inside, use adjustable shelving and hanging baskets to make the most of limited space.
Over time, you can include raised beds, trellises, or even a seating corner to enjoy your plants. Some gardeners add rainwater collection systems to water their crops naturally. If you prefer a simpler route, budget-friendly greenhouse kits are available and can save setup time while offering flexibility for upgrades.
Growing Smart, Spending Less
Creating a greenhouse on a budget is about using smart strategies. Affordable materials like PVC, reclaimed wood, and recycled windows can create a sturdy structure that lasts. Choosing the right spot, reinforcing the frame, and managing airflow make a big difference in how well the greenhouse performs.
A low-cost setup also opens the door to sustainable gardening. Solar-powered lights, rainwater systems, and compost heating not only save money but also reduce your environmental impact. You can begin with a simple hoop house or a mini walk-in structure, then expand as your needs change.
A greenhouse doesn’t have to drain your wallet. The key is to plan carefully, reuse materials when possible, and focus on functionality over appearance. Once your plants start thriving under their new shelter, you’ll see that building a cheap greenhouse can be both rewarding and affordable.

